Do you dream of turning your home into a lush indoor jungle but find the cost of buying numerous plants a bit overwhelming? Well, here’s a secret that experienced plant enthusiasts swear by – plant propagation. Not only is it a cost-effective way to expand your plant collection, but it’s also a fascinating journey into the magical world of creating life from cuttings. In this beginner-friendly guide, we’ll walk you through the basics of DIY plant propagation, unlocking the door to a vibrant and thriving indoor oasis.
Understanding Plant Propagation: The Basics
Plant propagation is the process of creating new plants from existing ones, and it’s a lot simpler than it sounds. There are several methods, but we’ll focus on three of the easiest and most commonly used: stem cuttings, leaf cuttings, and division.
1. Stem Cuttings: A Rooting Adventure
Stem cuttings involve snipping a portion of a healthy plant and encouraging it to grow roots. Choose a healthy stem with at least a couple of nodes (the points where leaves attach to the stem). Use sharp, clean scissors or pruning shears to make a clean cut just below a node.
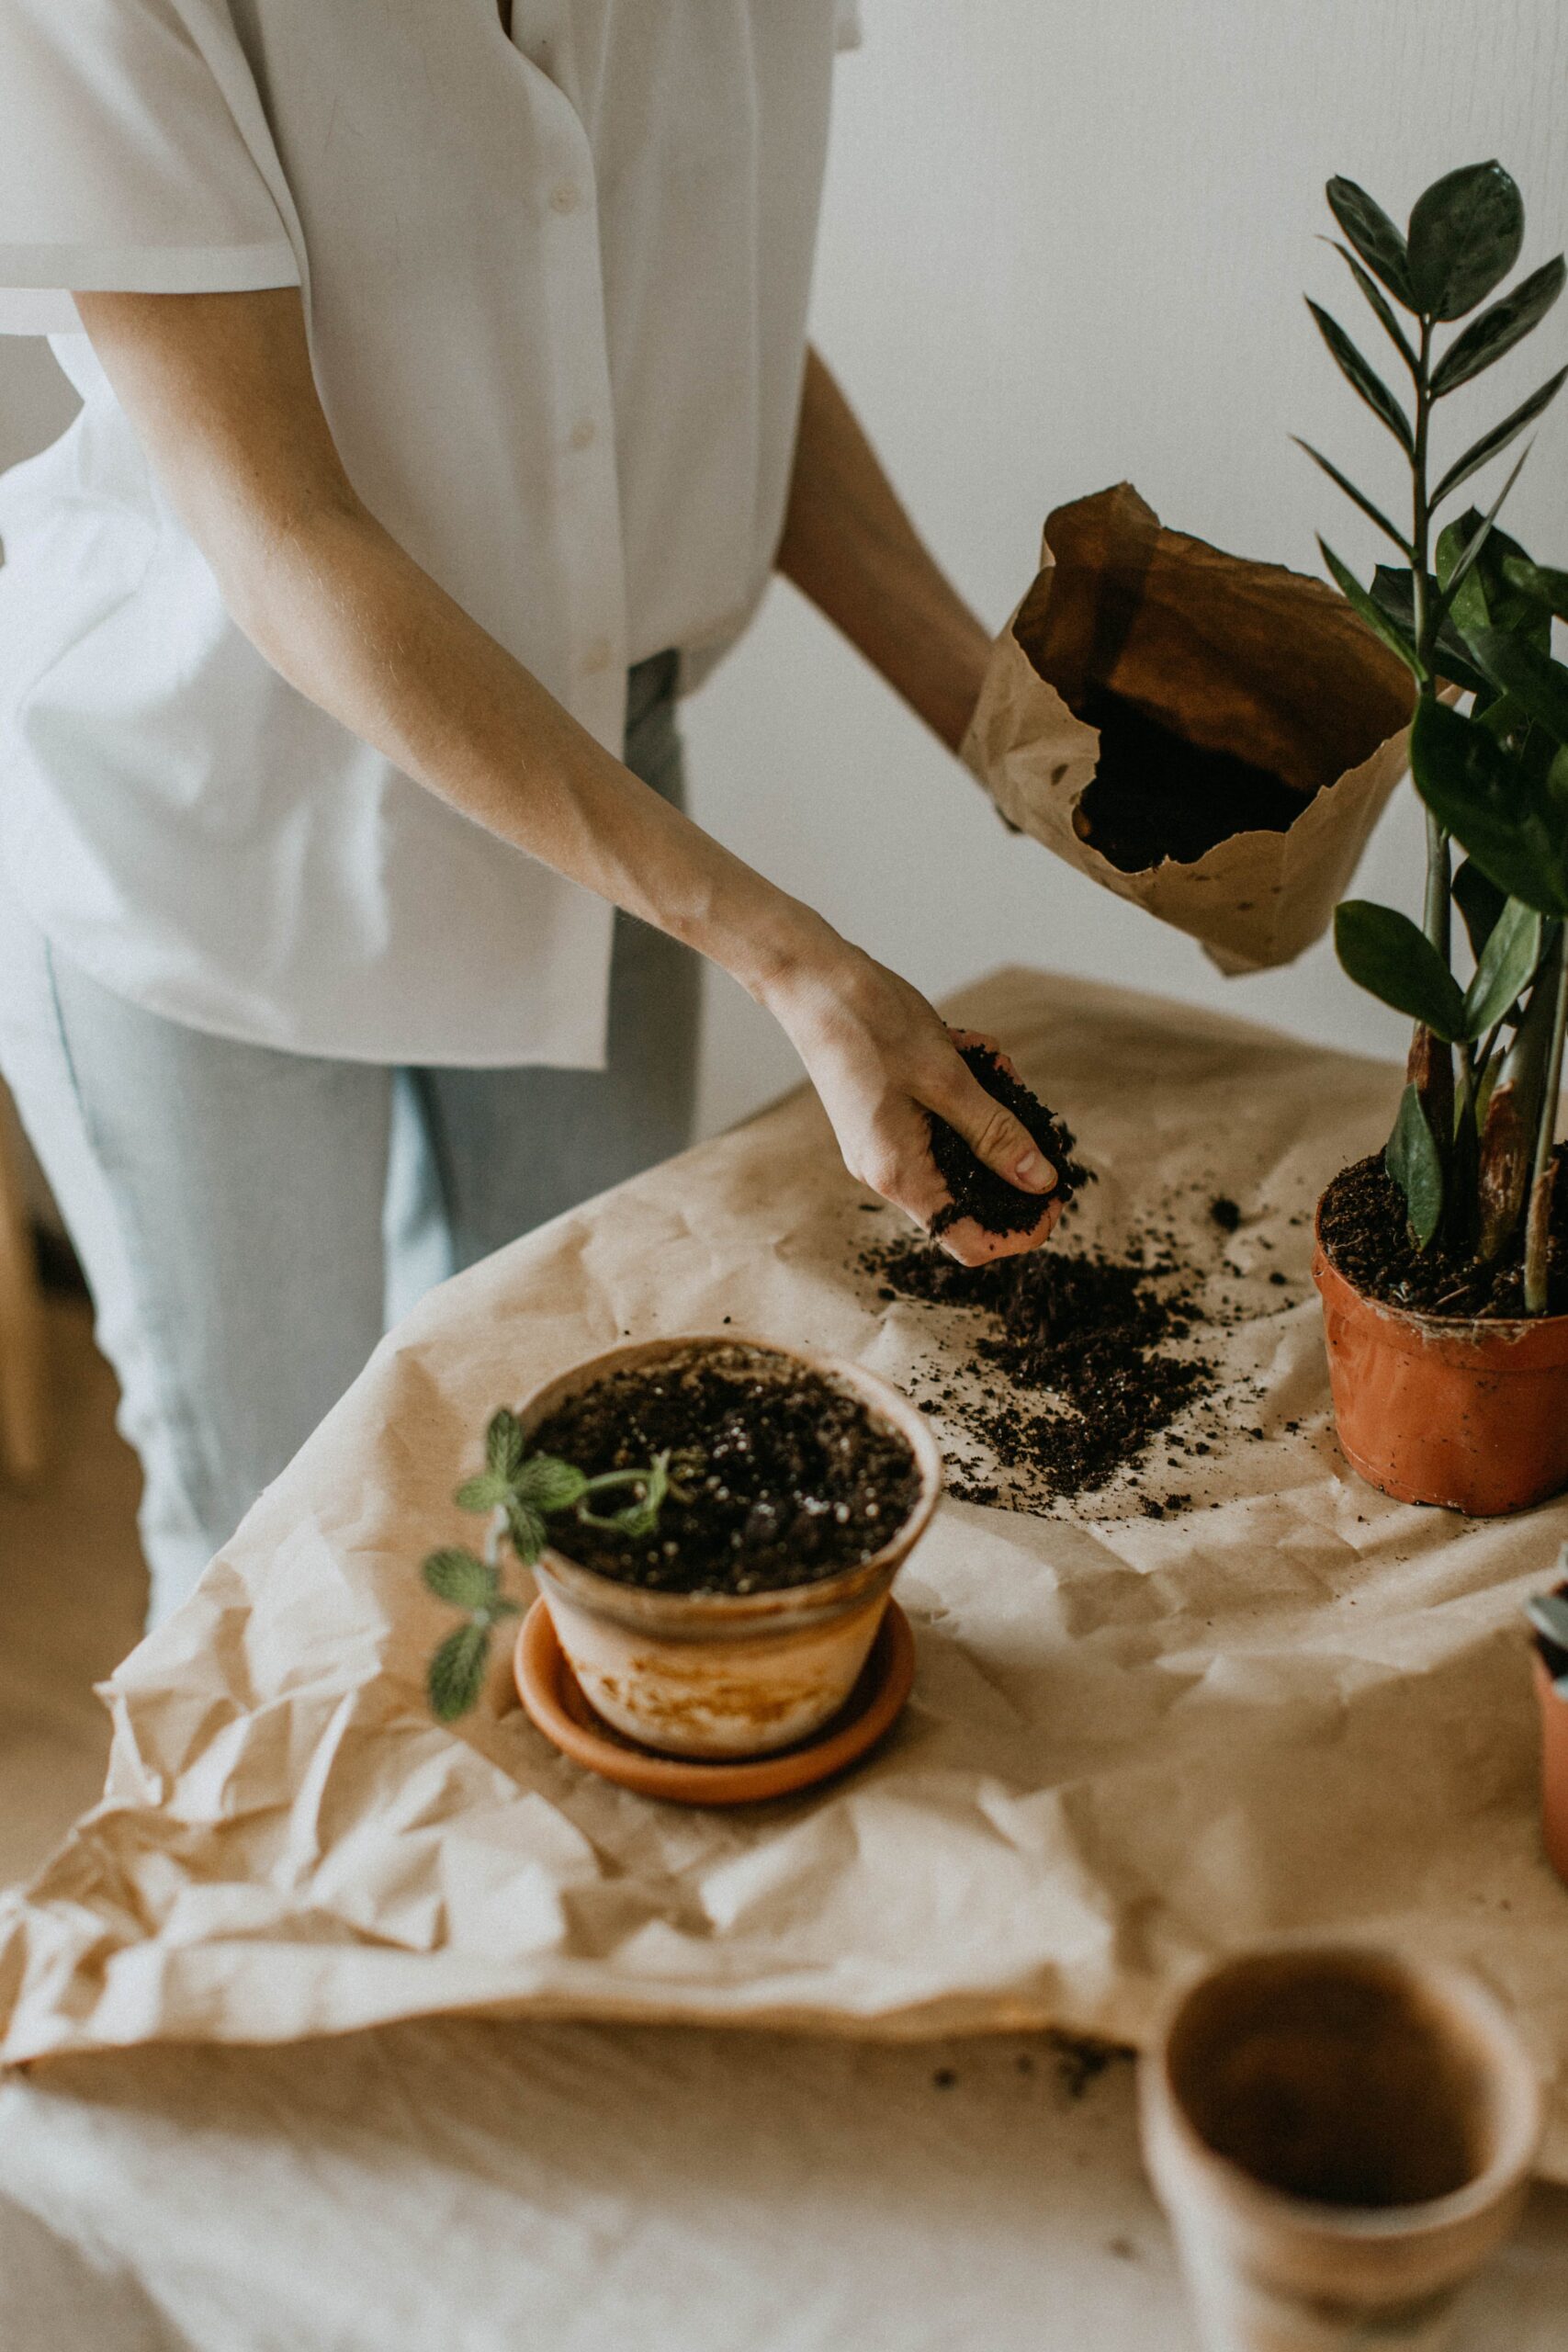
Remove any leaves from the lower part of the cutting to prevent them from rotting when placed in soil. Dip the cut end into rooting hormone (available at most garden stores) to encourage root growth, although many plants can root without it. Plant the cutting in a well-draining potting mix, water it thoroughly, and cover it with a plastic bag or a humidity dome to create a greenhouse effect.
Place the cutting in a bright, indirect light location and keep the soil consistently moist but not waterlogged. After a few weeks, you should notice new growth, indicating that roots have formed. Congratulations, you’ve just propagated your first plant!
2. Leaf Cuttings: Nature’s Cloning Experiment
Leaf cuttings are an excellent method for plants with fleshy leaves, such as succulents and certain houseplants like African violets. Gently twist a healthy leaf from the parent plant, making sure to include a small piece of the stem (petiole) if possible. Allow the leaf cutting to dry for a day or two, forming a callus that helps prevent rotting.
Plant the leaf cutting in a well-draining mix, burying the petiole in the soil while keeping the leaf exposed. Water the soil lightly and cover the cutting with a plastic dome or wrap to maintain high humidity. Place it in indirect light, and within a few weeks, tiny new plants should emerge from the base of the leaf, signaling successful propagation.
3. Division: Multiplying the Joy
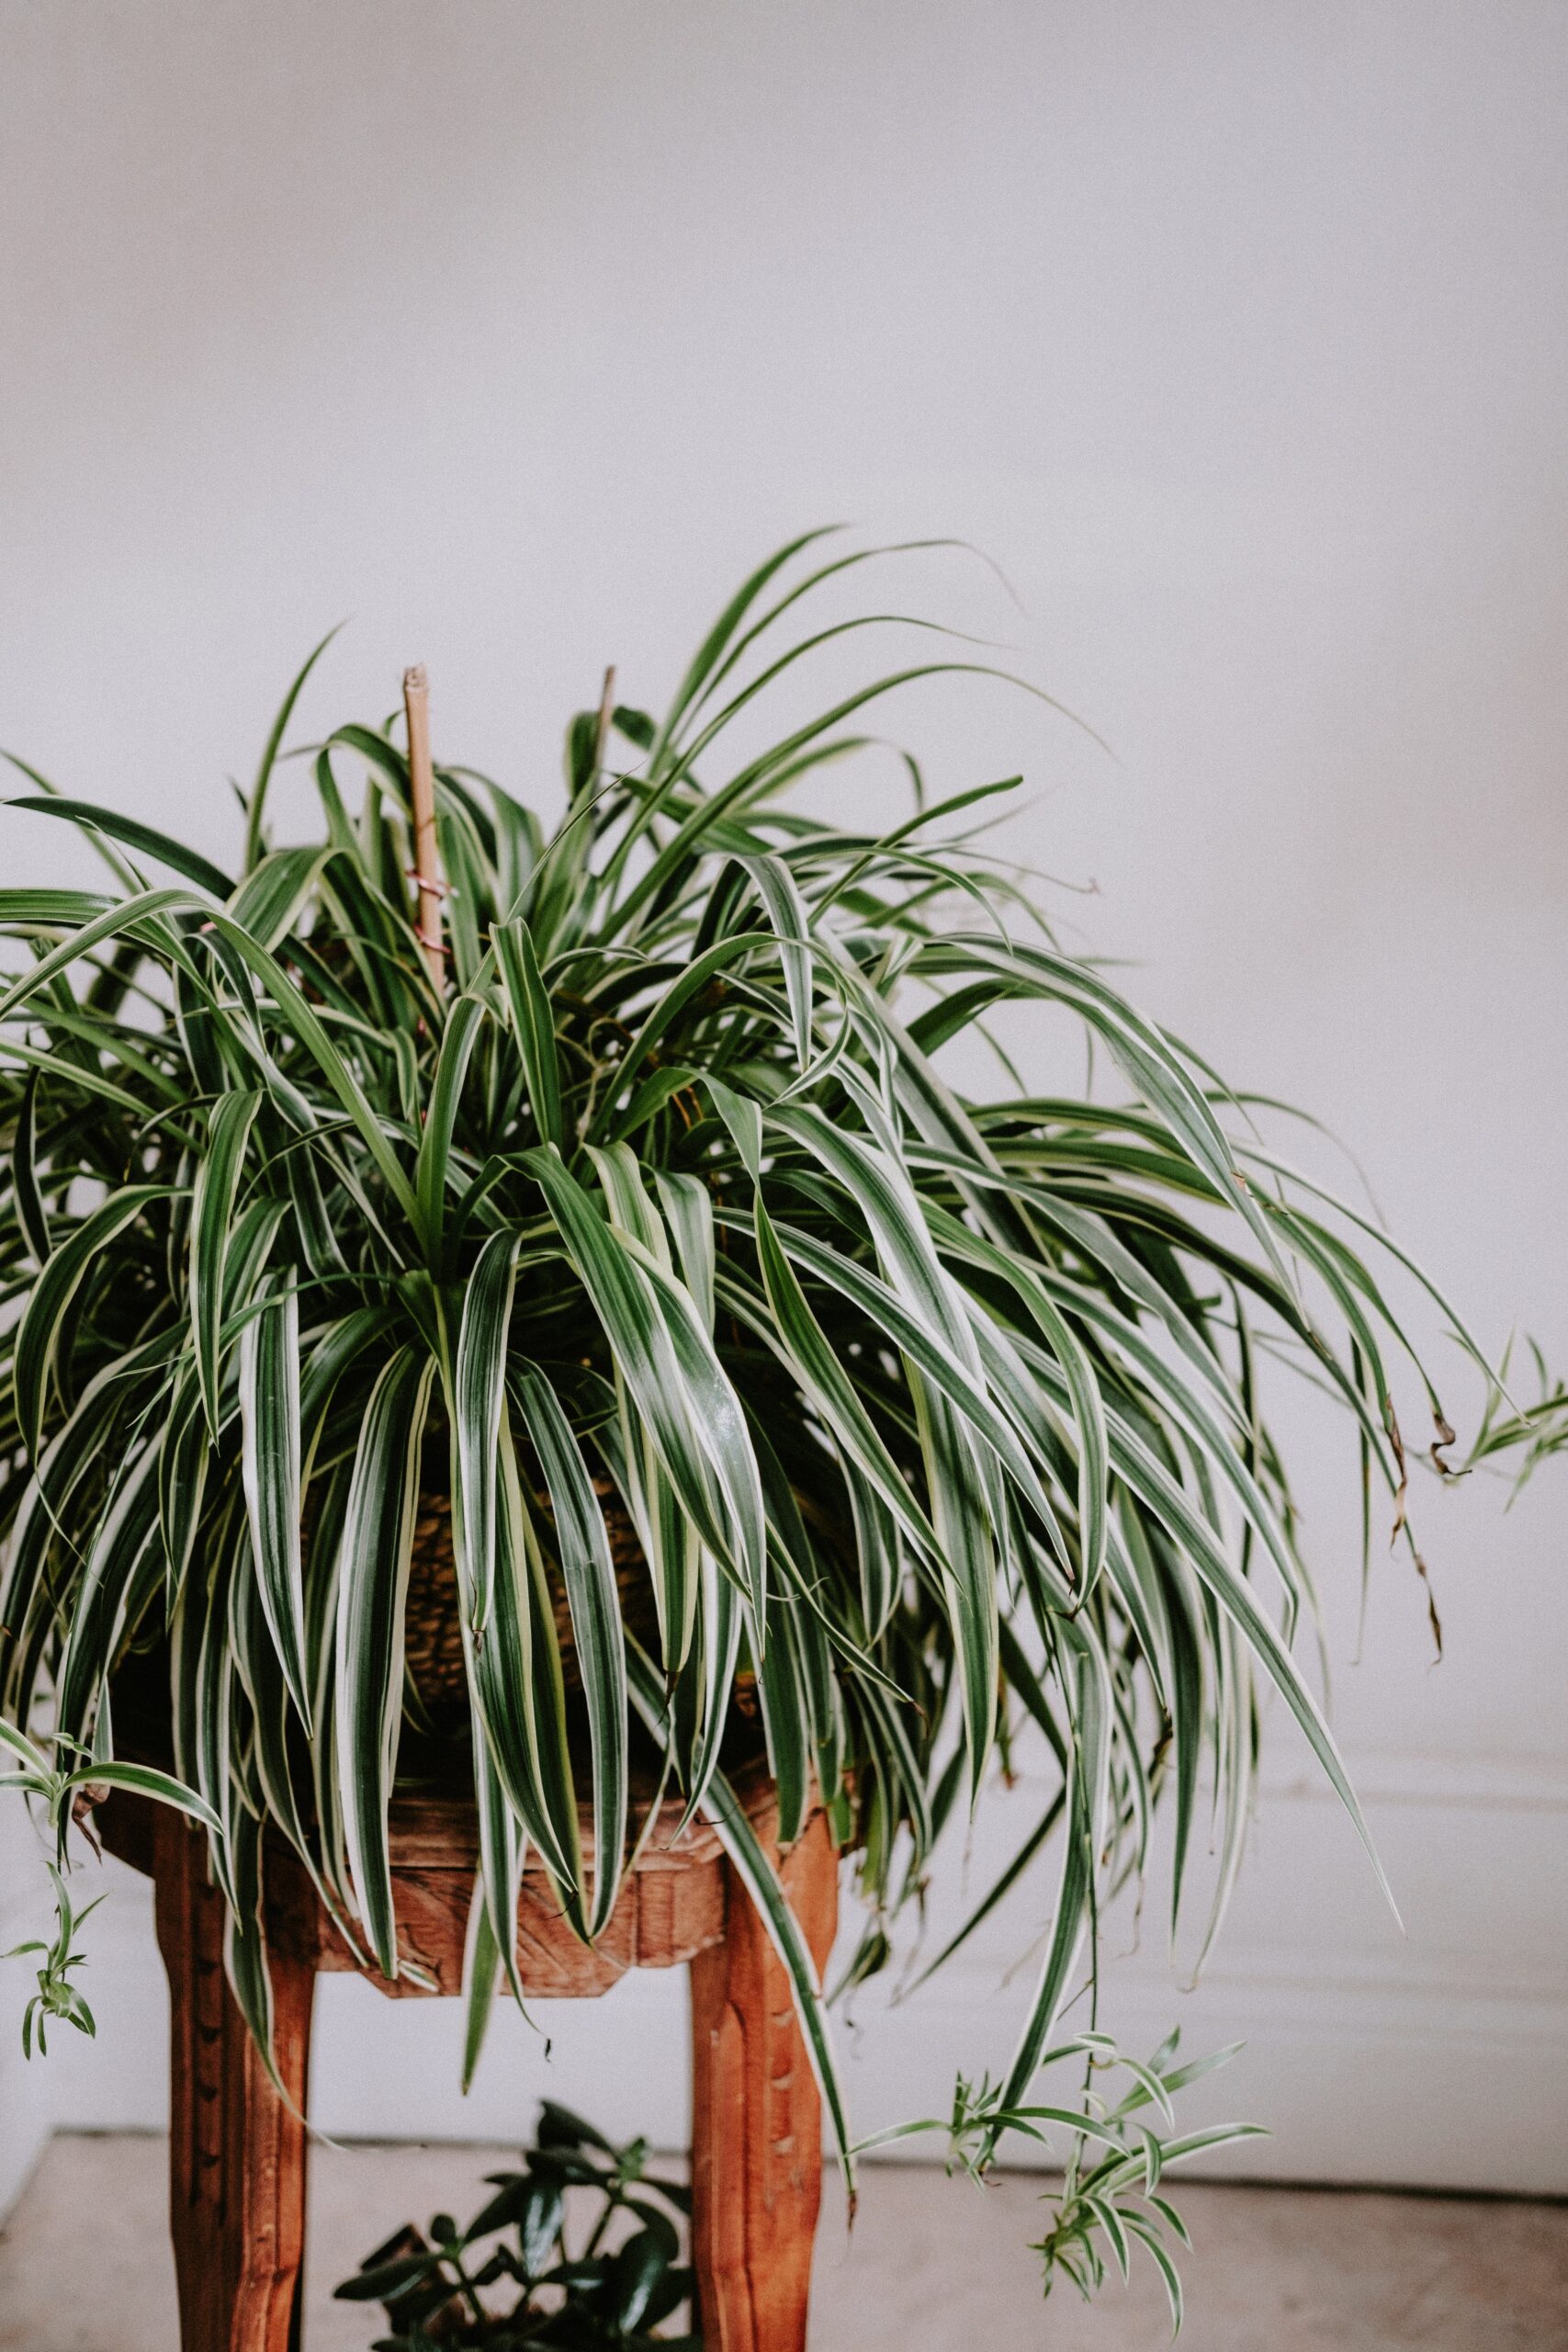
Division is a straightforward method commonly used for plants that grow in clumps, like snake plants or spider plants. Carefully remove the plant from its pot and gently tease apart the root ball into smaller sections, making sure each new section has roots attached.
Replant each divided section into its own pot with fresh potting mix. Water thoroughly and place the newly divided plants in a location that suits their light requirements. Division not only helps you propagate more plants but also revitalizes the original plant by giving it more space to grow.
Tips for Success:
- Timing Matters: Propagate during the plant’s active growing season for the best results.
- Patience is a Virtue: Rooting times vary, so be patient and resist the urge to disturb the cuttings.
- Water Wisely: Keep the soil consistently moist but avoid overwatering, which can lead to rot.
By delving into the world of DIY plant propagation, you’ll not only save money but also experience the joy of nurturing new life. As you master these techniques, you’ll find yourself surrounded by a flourishing indoor jungle, each plant carrying a story of growth and connection. Happy propagating!


